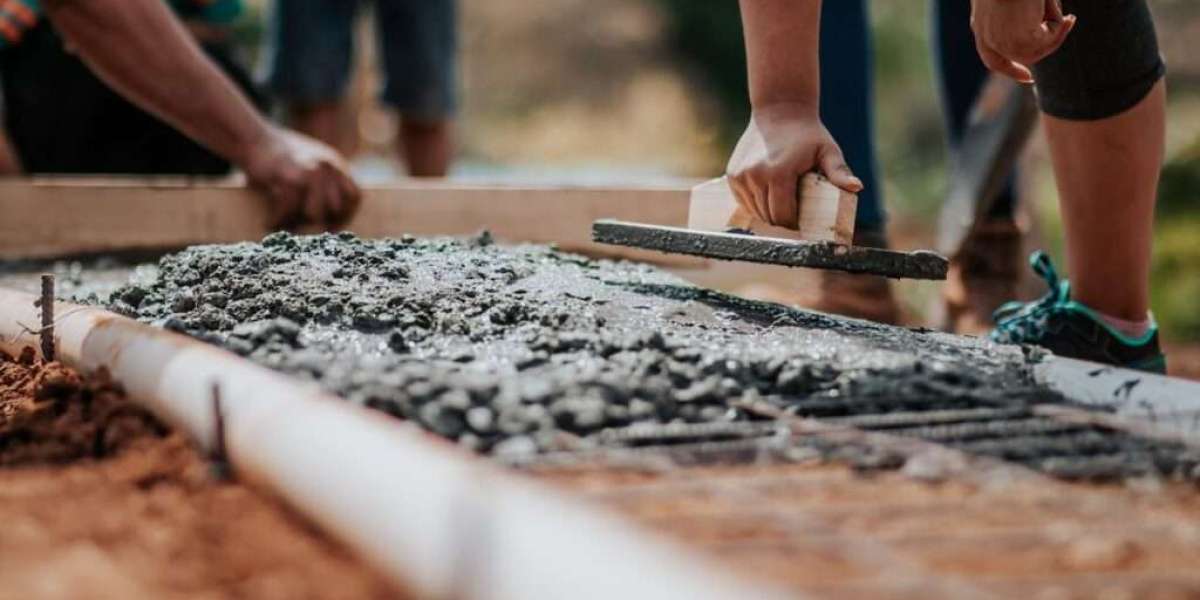
Concrete sidewalks are an essential element of urban and suburban landscapes, providing safe and durable pathways for pedestrians. However, over time, these sidewalks can deteriorate due to wear and tear, weather conditions, and other external factors. Proper repair and maintenance not only improve safety but also extend the lifespan of these structures. Below, we delve into an in-depth guide on concrete sidewalk repair effectively.
Understanding Common Sidewalk Issues
1. Cracks and Fissures
Cracks are among the most common problems, caused by thermal expansion, ground movement, or heavy loads. These imperfections not only look unattractive but can also lead to further structural weakening.
2. Uneven Surfaces
Uneven concrete slabs occur when the ground beneath shifts or erodes. This can create trip hazards and violate safety regulations, making repair a priority.
3. Spalling
Spalling occurs when the top layer of concrete flakes off, exposing the aggregate beneath. This issue arises from freeze-thaw cycles, poor-quality materials, or improper finishing techniques.
4. Erosion and Pitting
Over time, environmental factors like rain, snow, and chemicals can erode concrete, leading to pitting and surface deterioration.
Step-by-Step Guide to Concrete Sidewalk Repair
Step 1: Assessing the Damage
Before beginning repairs, conduct a thorough inspection of the sidewalk. Determine the extent of damage to decide whether a simple patch or a full replacement is necessary.
Step 2: Gathering the Right Tools and Materials
Essential materials and tools include:
- Concrete patching compound
- Trowel
- Grinder or chisel
- Bonding agent
- Leveling compound
- Protective gear (gloves, goggles)
Step 3: Cleaning the Surface
Remove debris, dirt, and loose concrete using a pressure washer or stiff brush. Cleanliness ensures proper adhesion of repair materials.
Step 4: Repairing Cracks
Small Cracks (less than ¼ inch):
- Use a wire brush to clean the crack.
- Fill it with a concrete filler or epoxy resin.
- Smooth the surface with a trowel.
Large Cracks:
- Undercut the edges of the crack with a chisel to create a “V” shape.
- Apply a bonding agent inside the crack.
- Fill with a cement-based patching material and level it.
Step 5: Fixing Uneven Slabs
- For minor height differences, use a concrete leveling compound.
- For significant disparities, consider slab jacking:
- Drill small holes into the uneven slab.
- Pump a grout mixture beneath to lift the slab.
- Seal the holes with patching material.
Step 6: Addressing Spalling
- Chisel away loose concrete from spalled areas.
- Apply a bonding agent to the surface.
- Use a resurfacing compound to restore a smooth finish.
Step 7: Final Finishing
After repairs, smooth and level the surface. Apply a protective sealant to prevent future damage and enhance the sidewalk's longevity.
Preventive Measures for Sidewalk Longevity
- Regular Inspections: Check for early signs of damage to address issues promptly.
- Sealing: Apply concrete sealant every few years to shield against water penetration and chemical exposure.
- Proper Drainage: Ensure good drainage to prevent water accumulation beneath the slabs.
- Use of Quality Materials: Invest in high-grade concrete and professional construction techniques to reduce long-term issues.
Mermaid Diagram: Sidewalk Repair Process
When to Call a Professional
While DIY repairs are feasible for minor issues, significant damage or unevenness may require professional expertise. Contractors equipped with specialized tools can ensure long-lasting results.
Conclusion
Concrete sidewalk repair is a crucial aspect of maintaining safe and functional pedestrian pathways. By following proper techniques and preventive measures, property owners can save costs and enhance the longevity of their sidewalks. Whether addressing small cracks or dealing with extensive damage, prioritizing timely repairs ensures a durable and visually appealing result.


